Old bikes sometimes bring old problems with them. A lot of the time, you will find a previous owner has had to change a lock here or there and just used the new key along with the original. Sometimes you can end up with 3 or 4 keys to operate the bike. I’m going to show you the basics on how to re-key a lock to the key of your choice
Apologies in advance for the sometimes fuzzy pics – my digital camera is fubar’d and I’ve been forced to take photos with a 1st gen iPad potato.
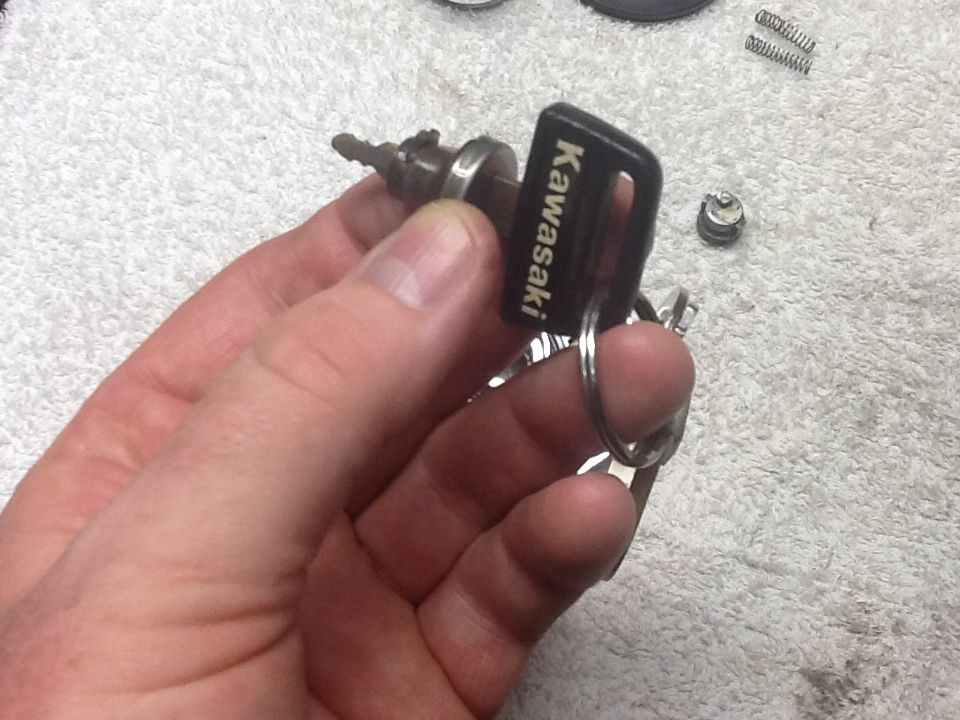
OK – so the Z1300 I inherited from my brother had 3 different keys to work the ignition, tank, seat and helmet locks:
![Image]()
If you look closely you’ll see the 2 keys on the left have the same code, but are quite different in shape from 34 years of use. The key on the far right (on the key fob) was relatively new as he’d replaced the ignition switch a few years back….so, this is the key I’m keeping / using.
![Image]()
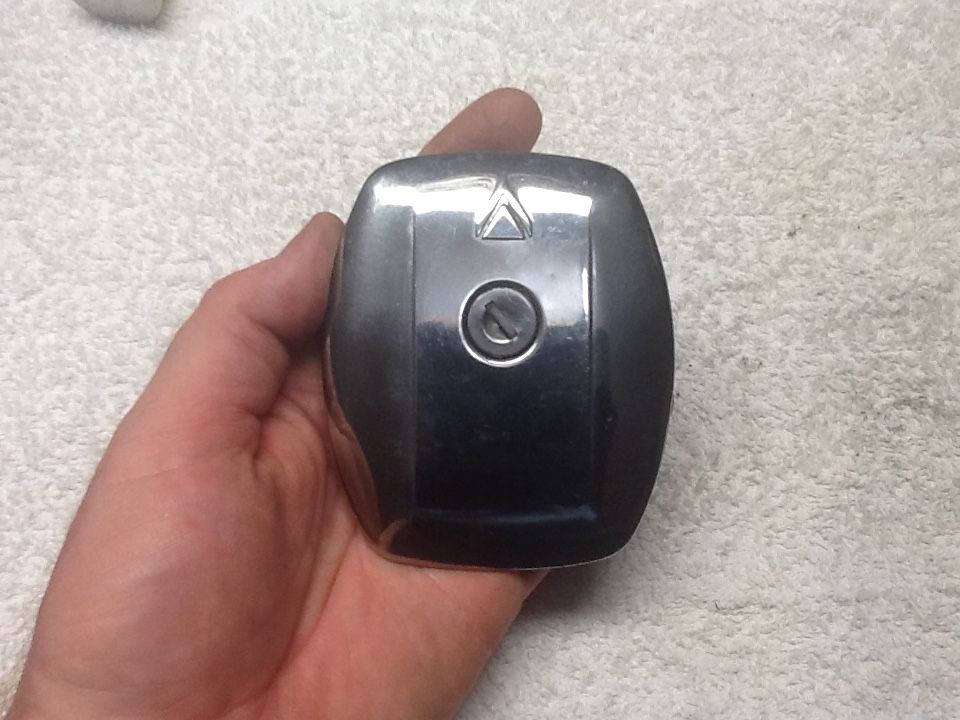
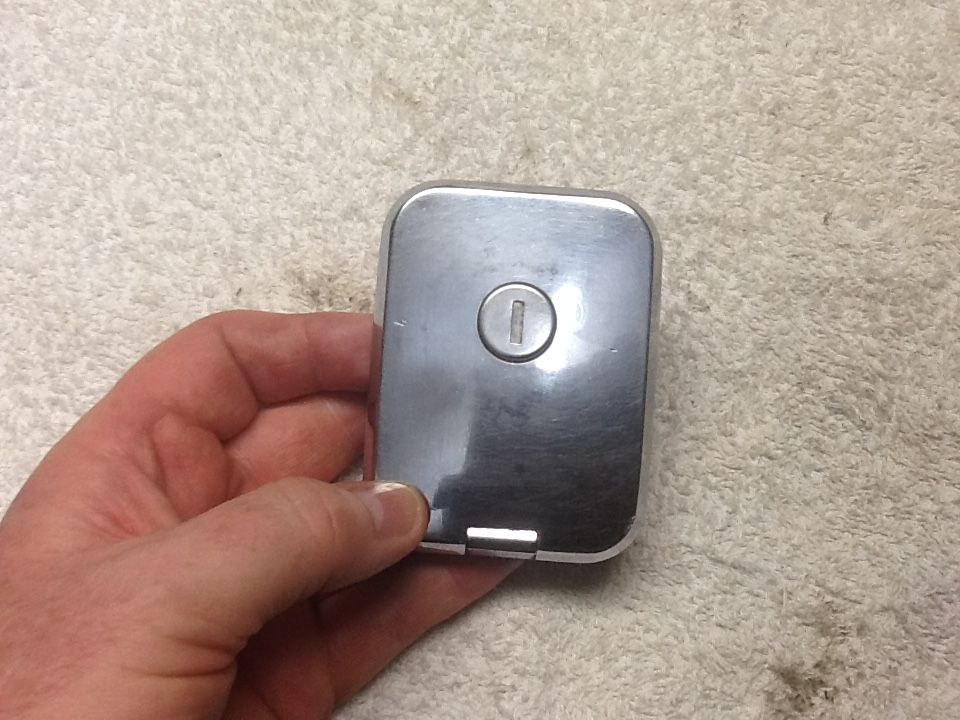
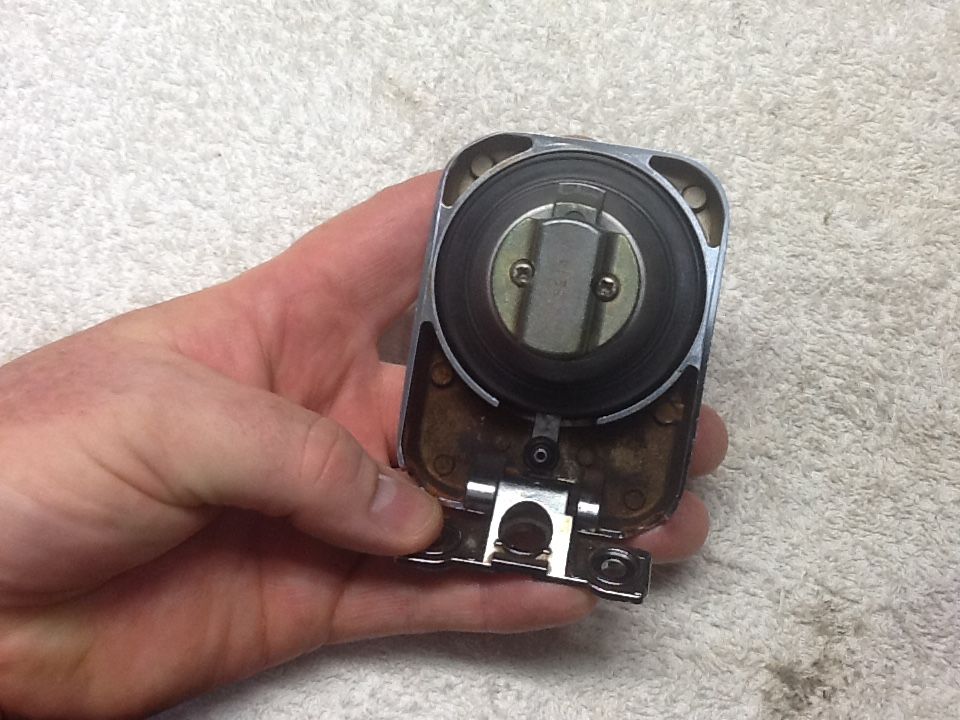
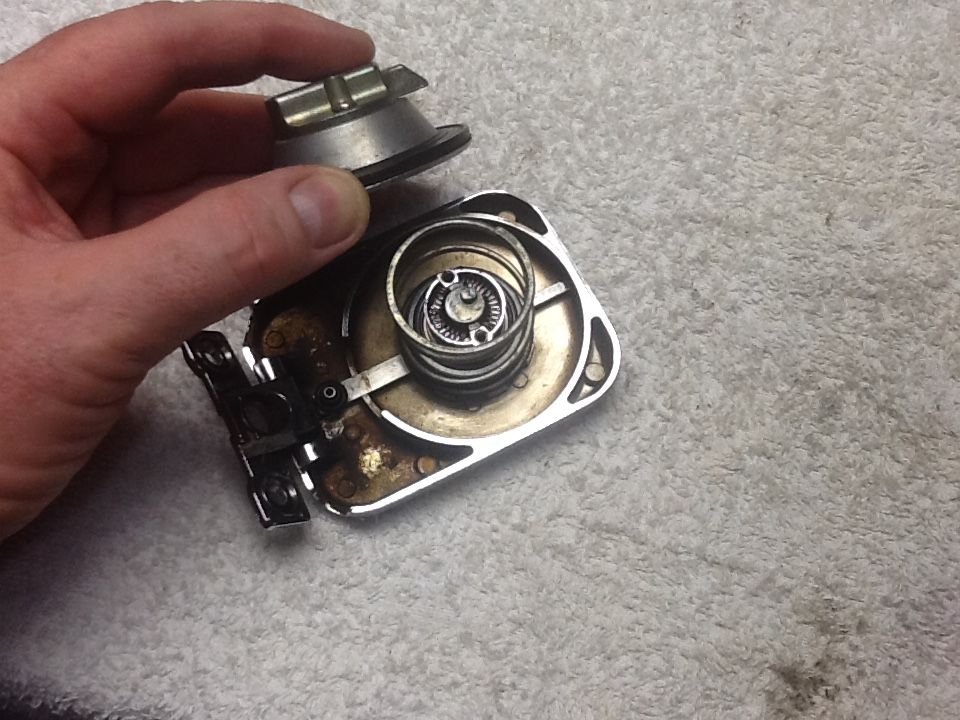
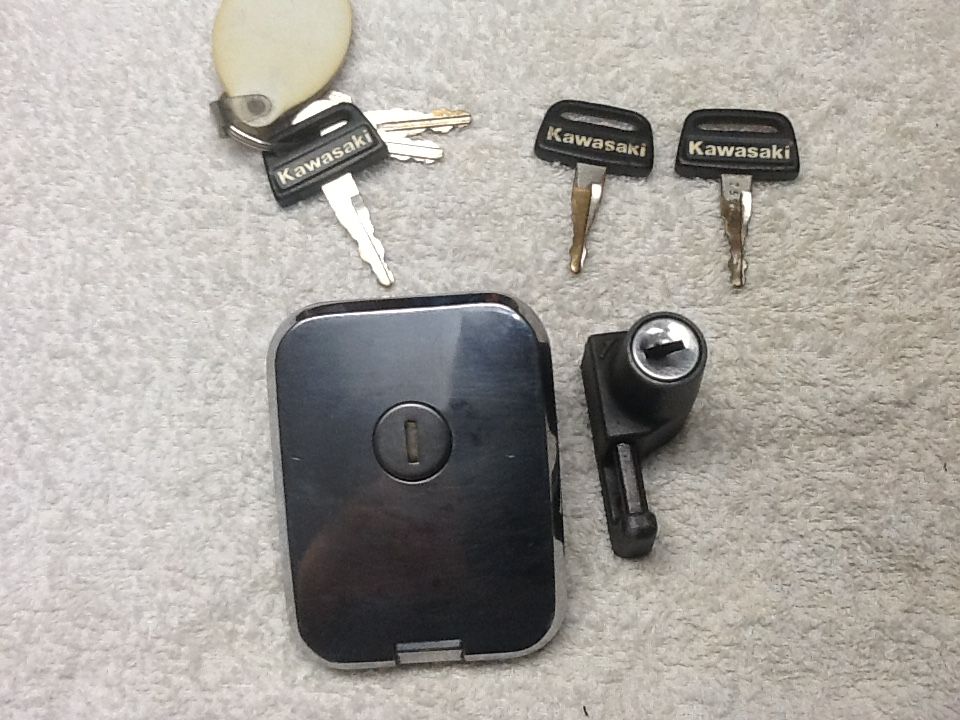
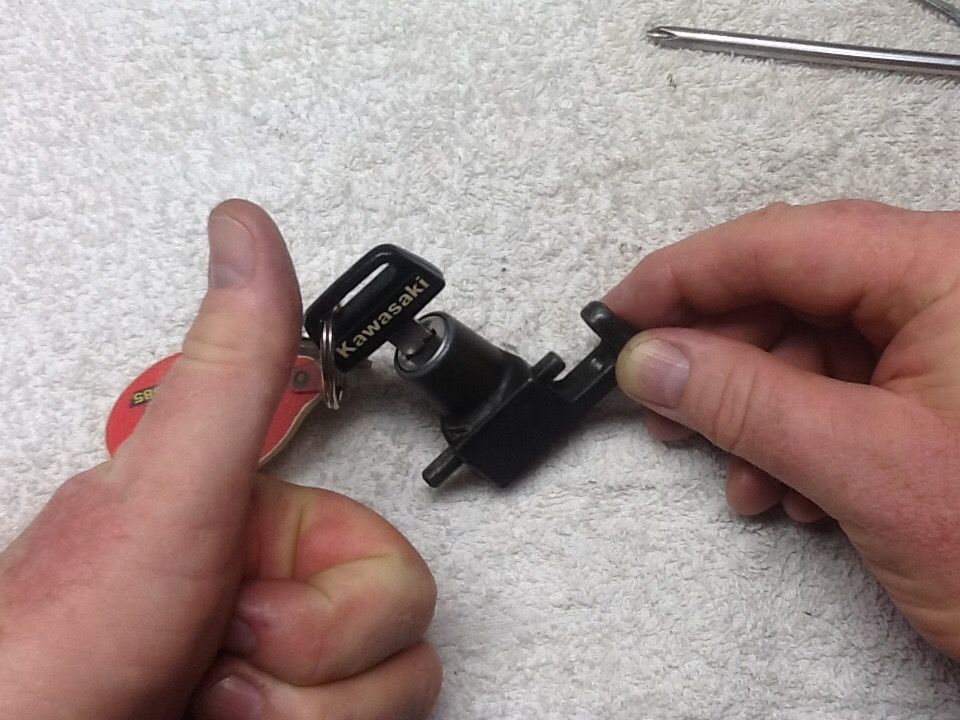
At this stage I’ll point out that I’ve actually DONE the keying already, but I’m going to disassemble the fuel cap and a helmet lock to show you what I did:
![Image]()
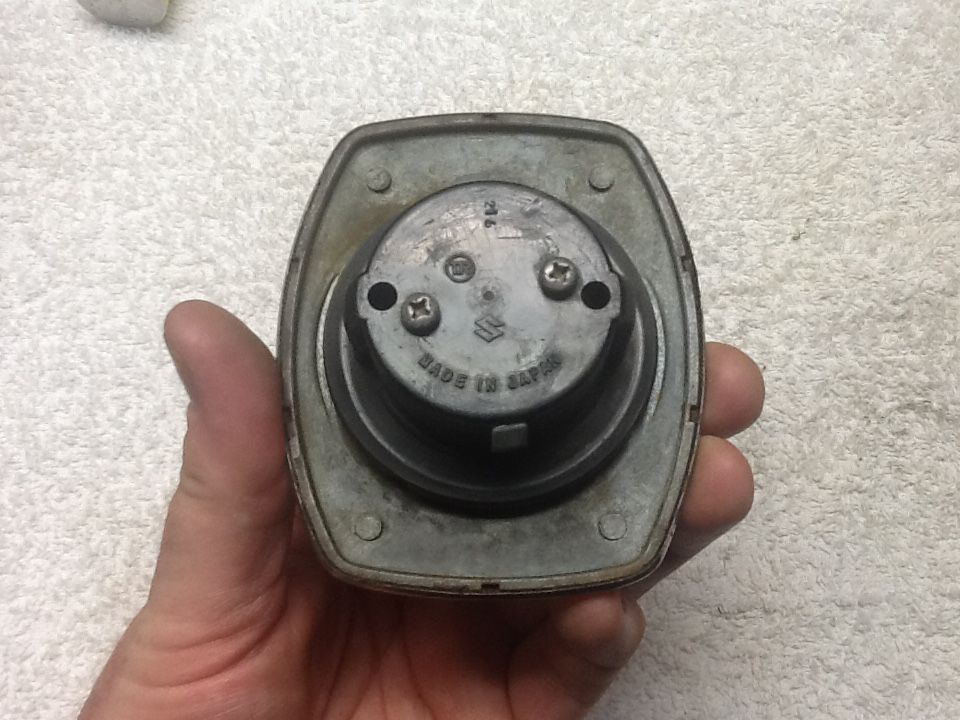
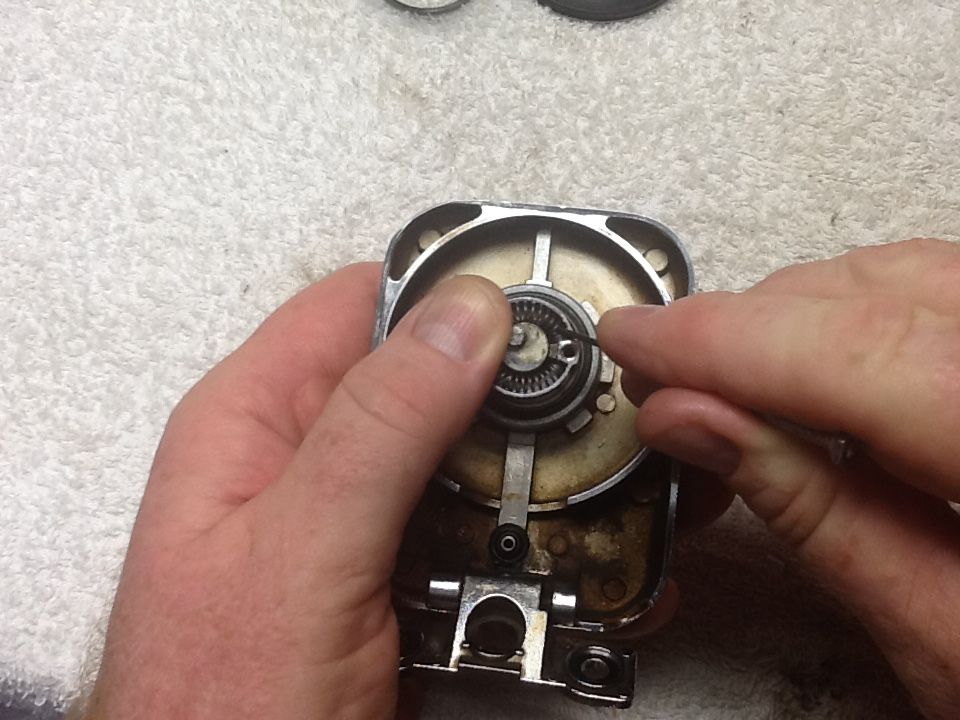
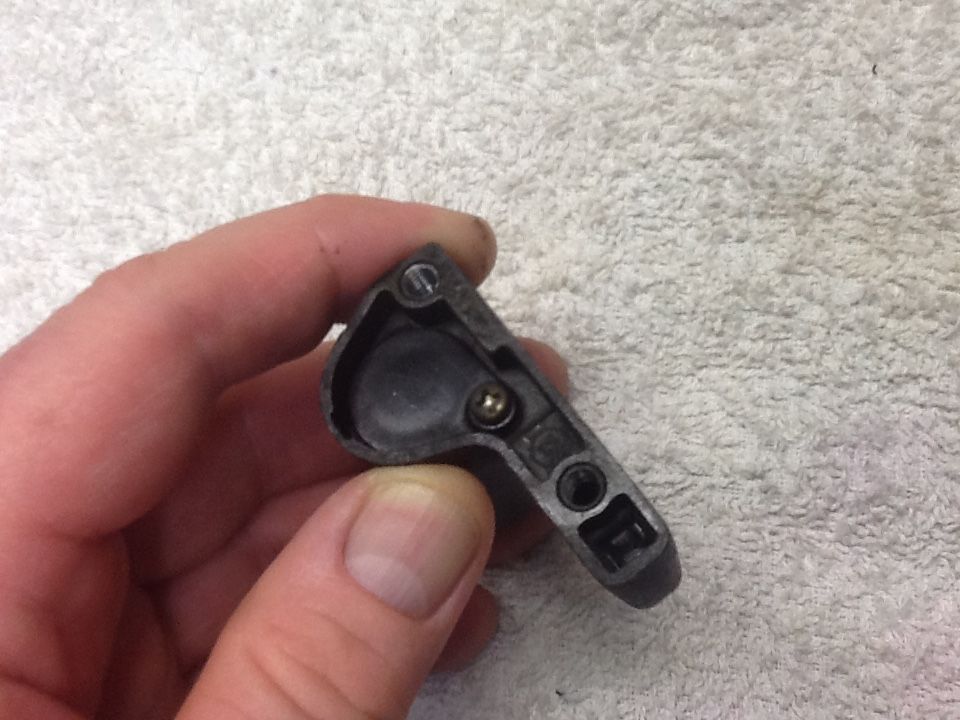
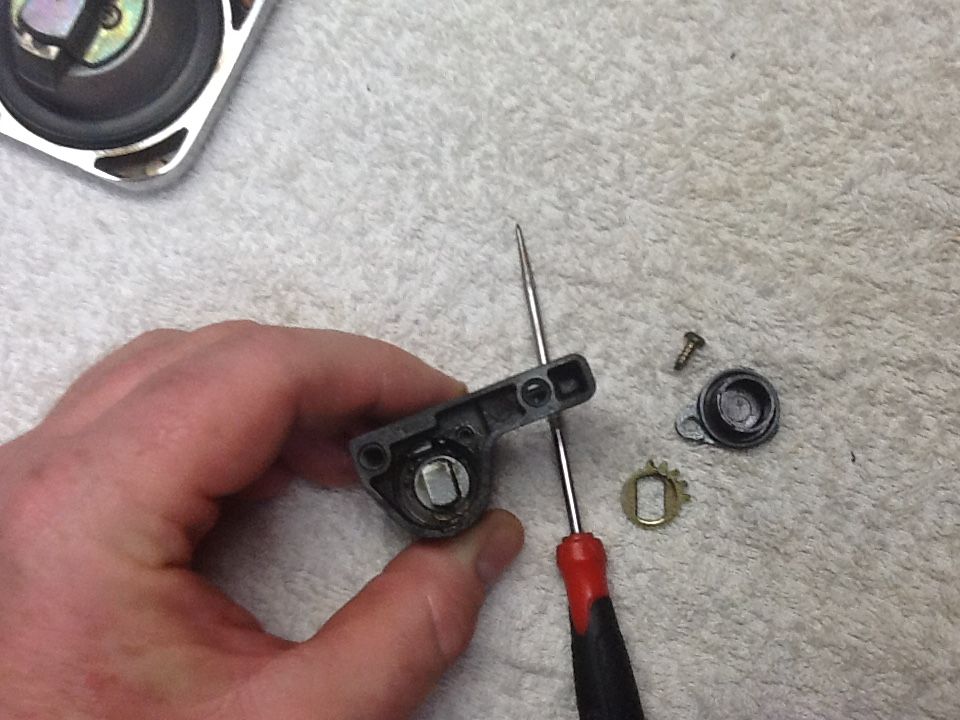
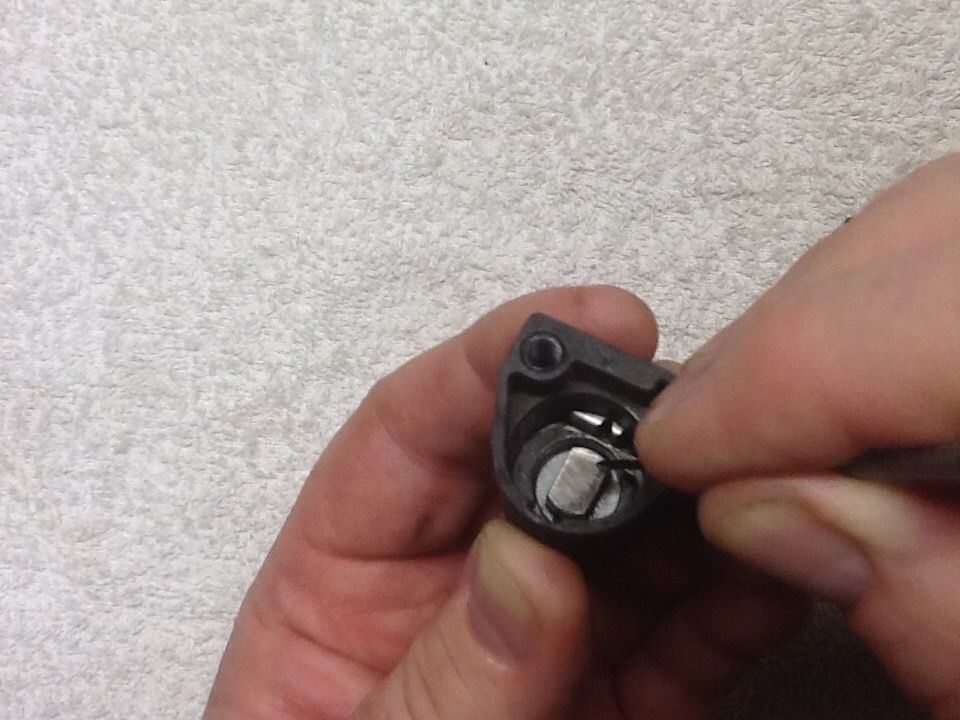
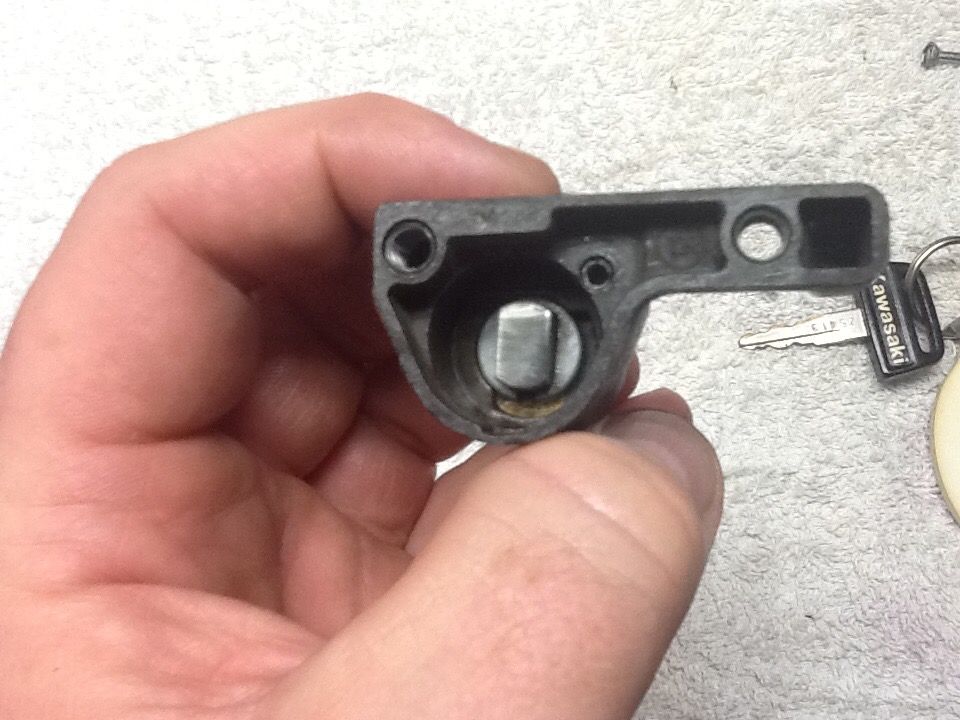
Starting with the helmet lock – this one is pretty easy as the slide lock mechanism is held in by a plastic cover that is simply screwed in place:
![Image]()
![Image]()
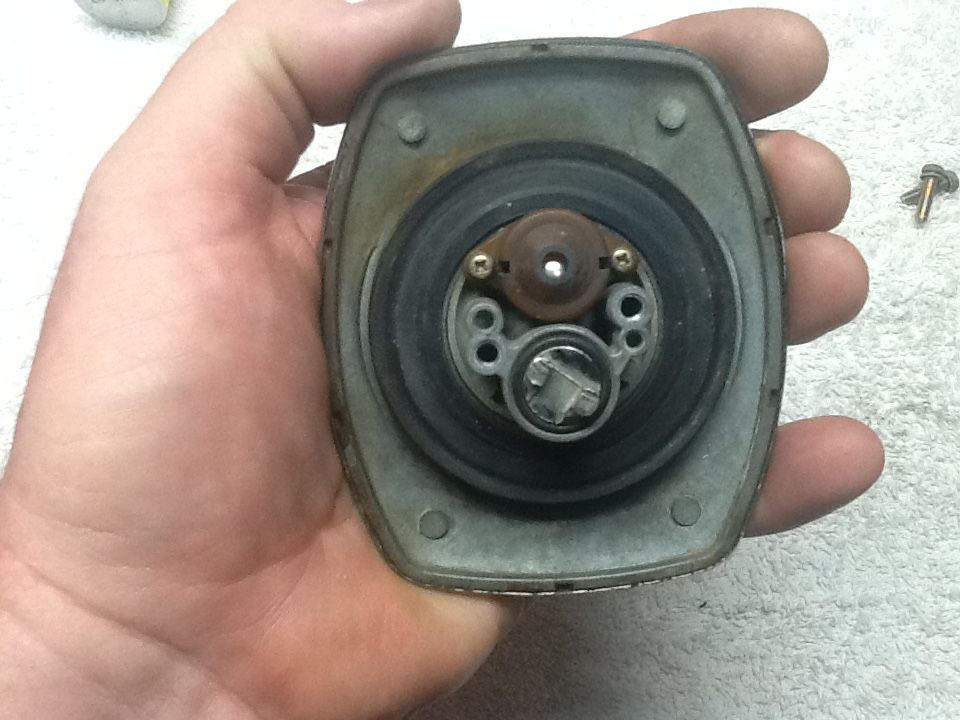
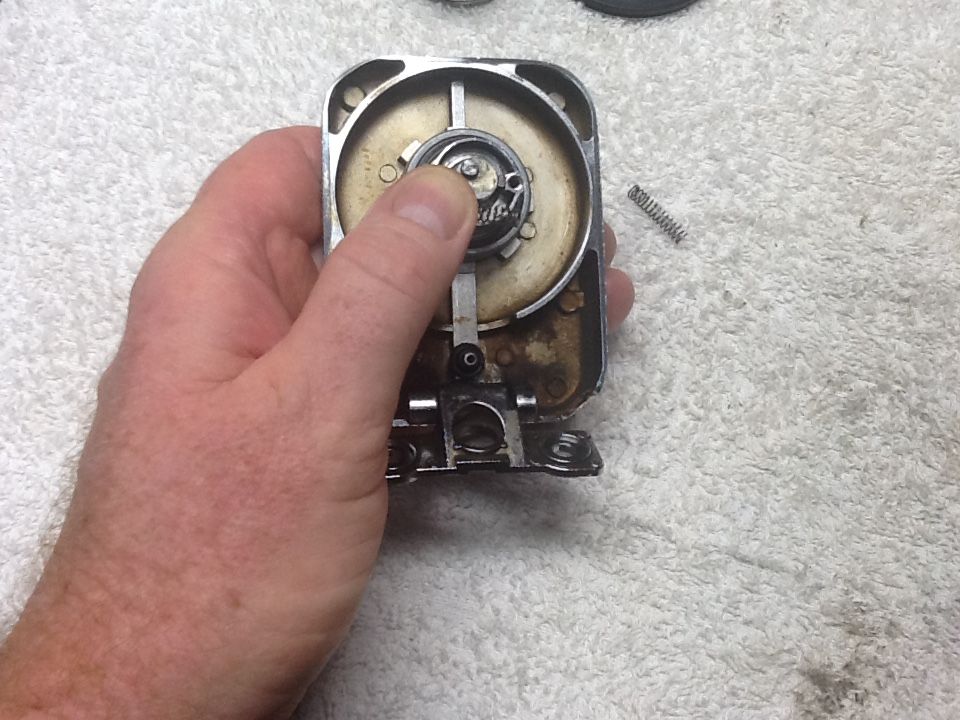
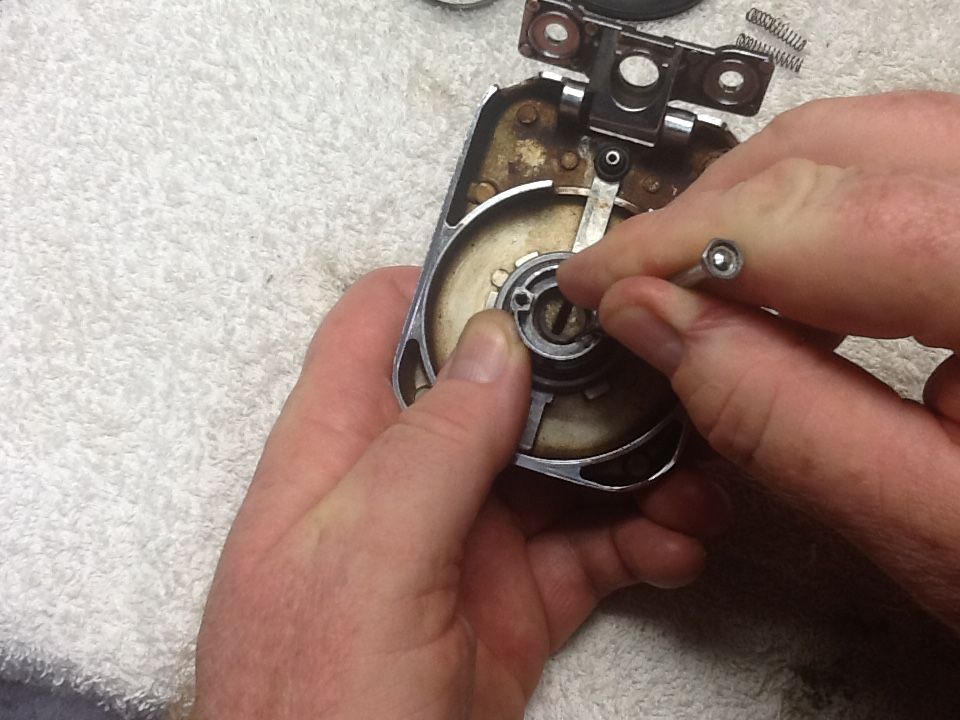
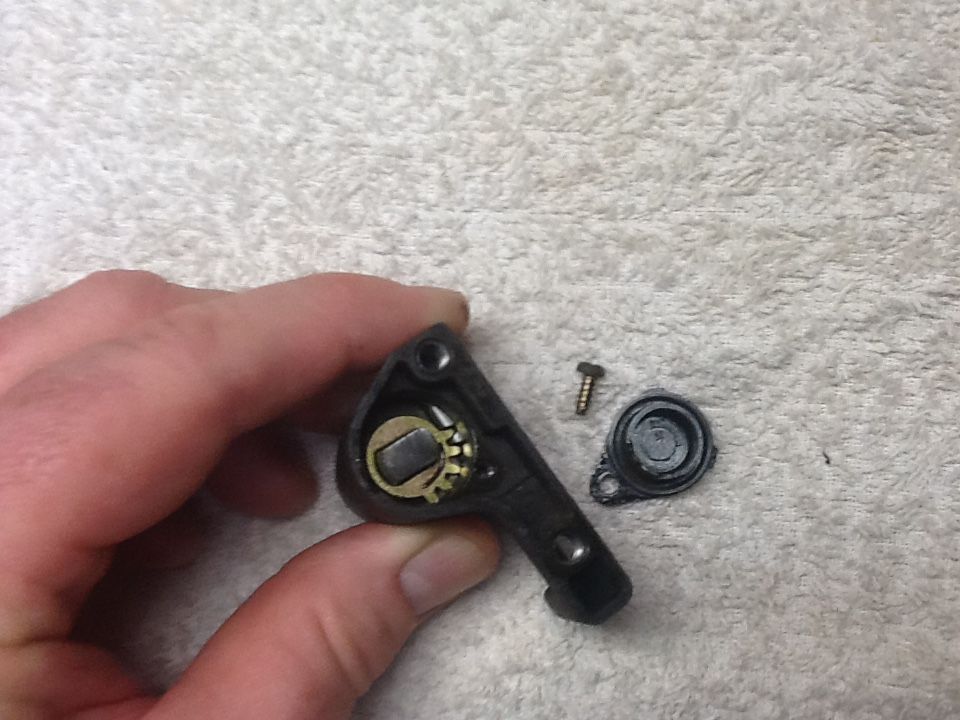
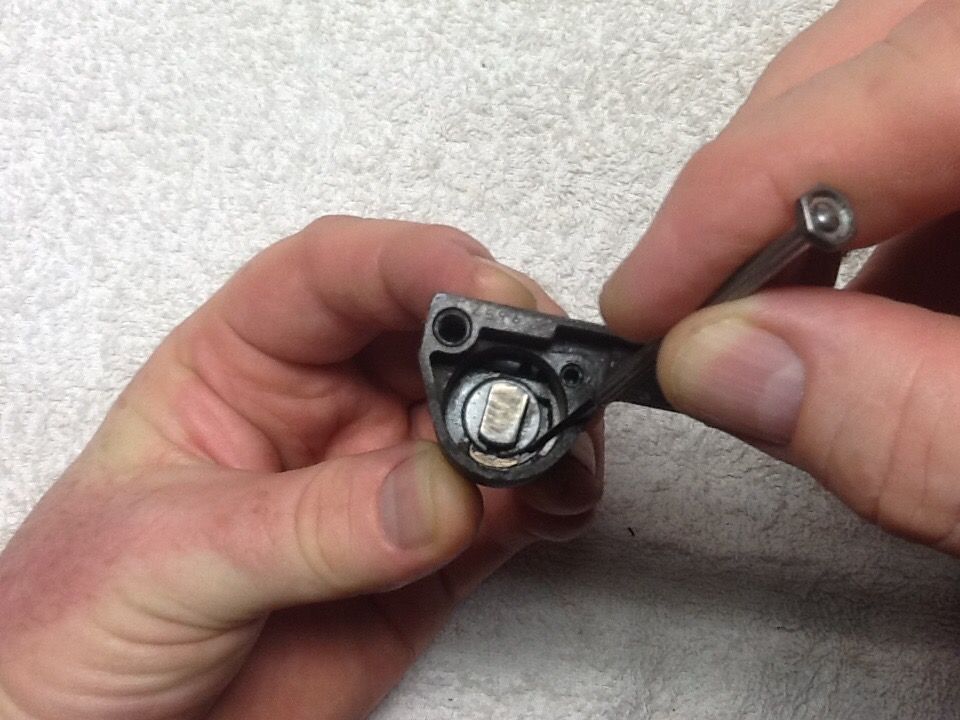
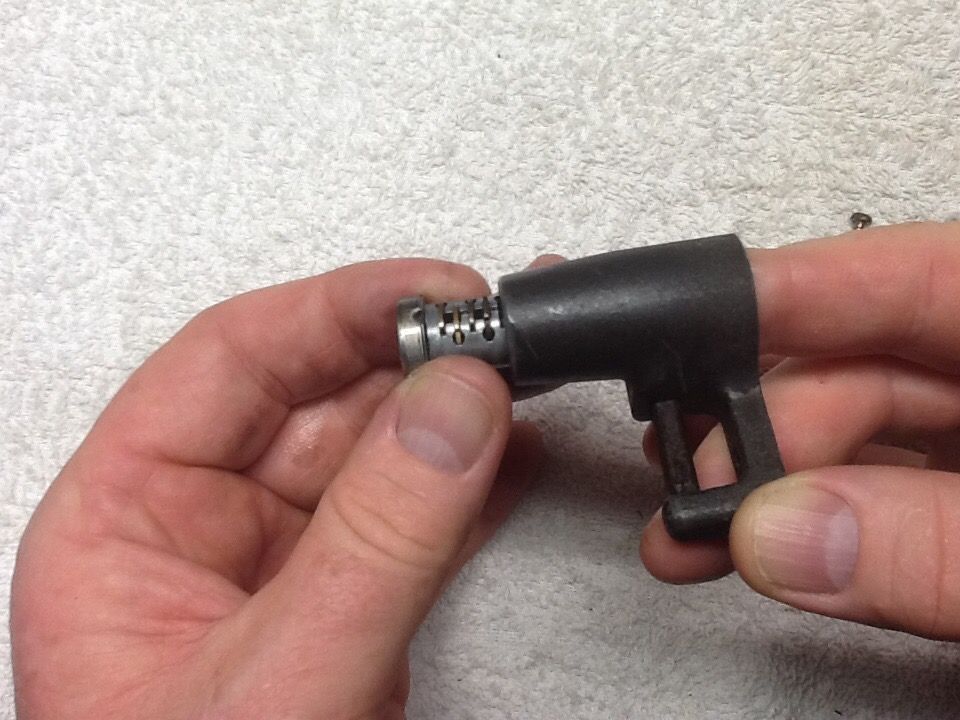
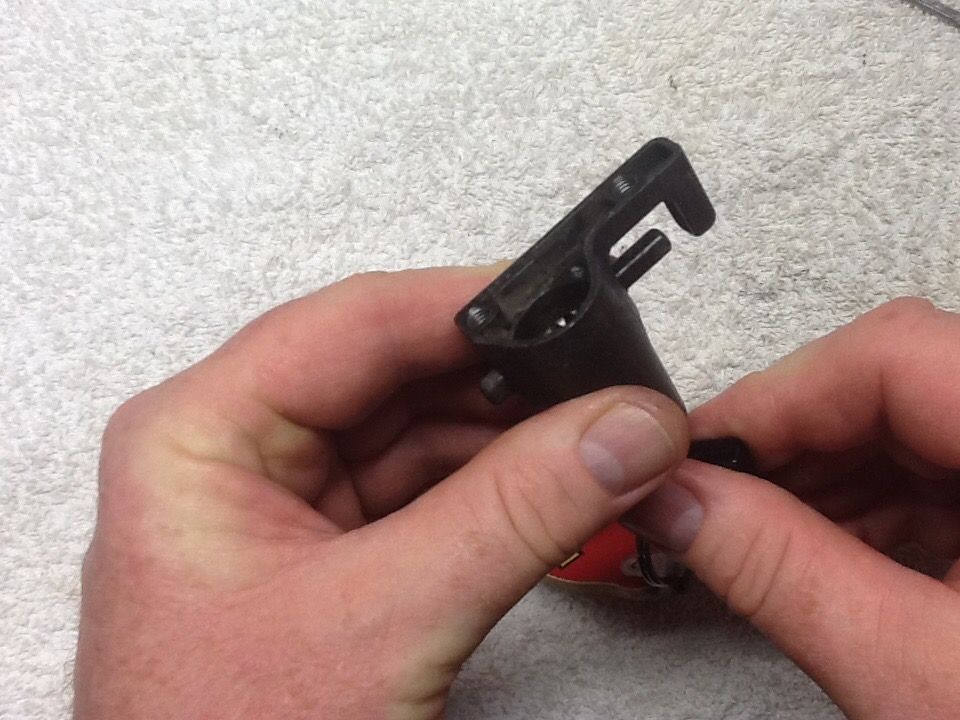
This one has a gear that will just slide off the barrel:
![Image]()
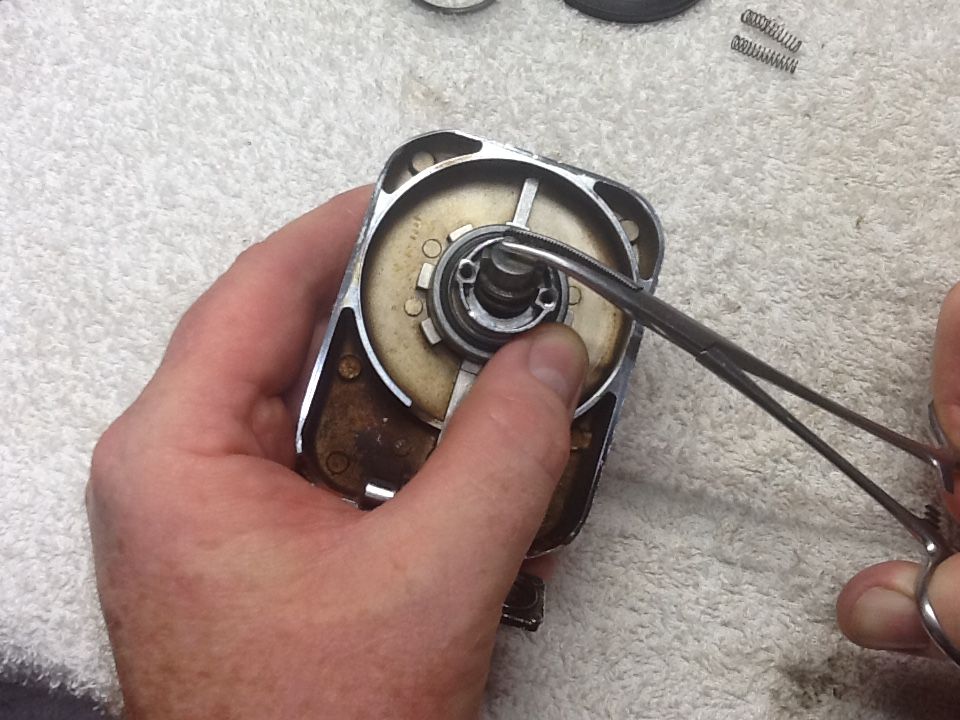
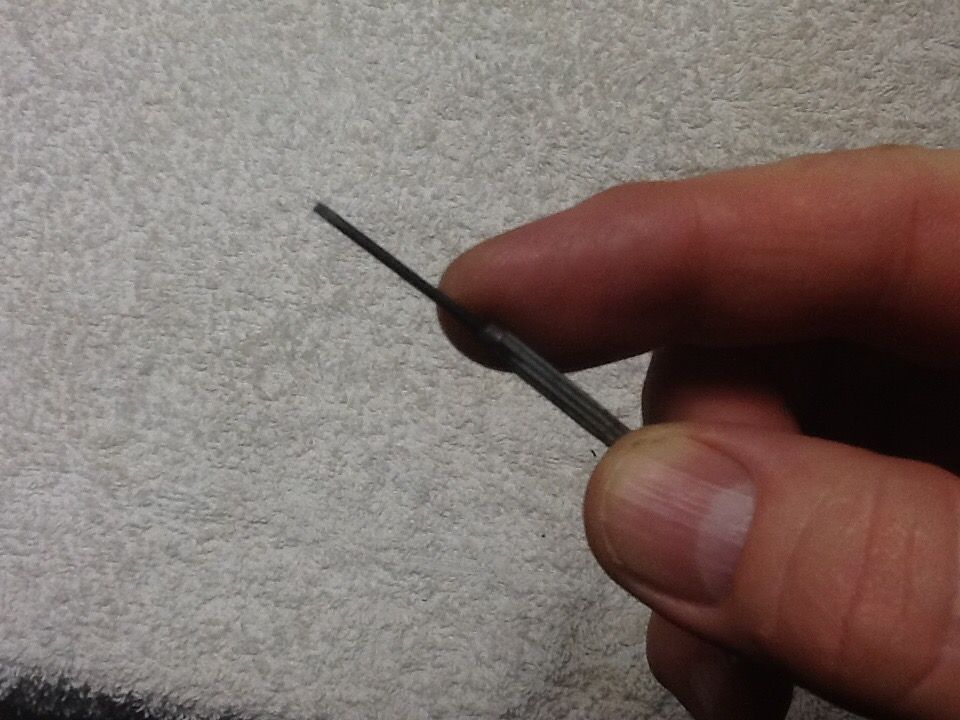
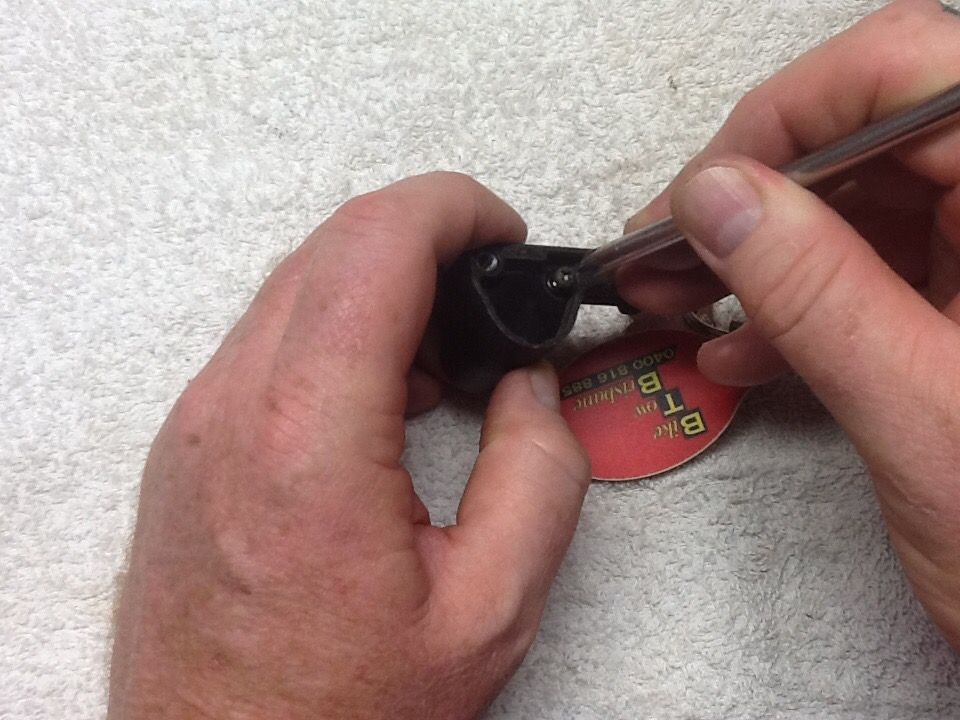
Now look into the back of the lock – you will see there is a pin / wafer that you slide up to release the barrel:
![Image]()
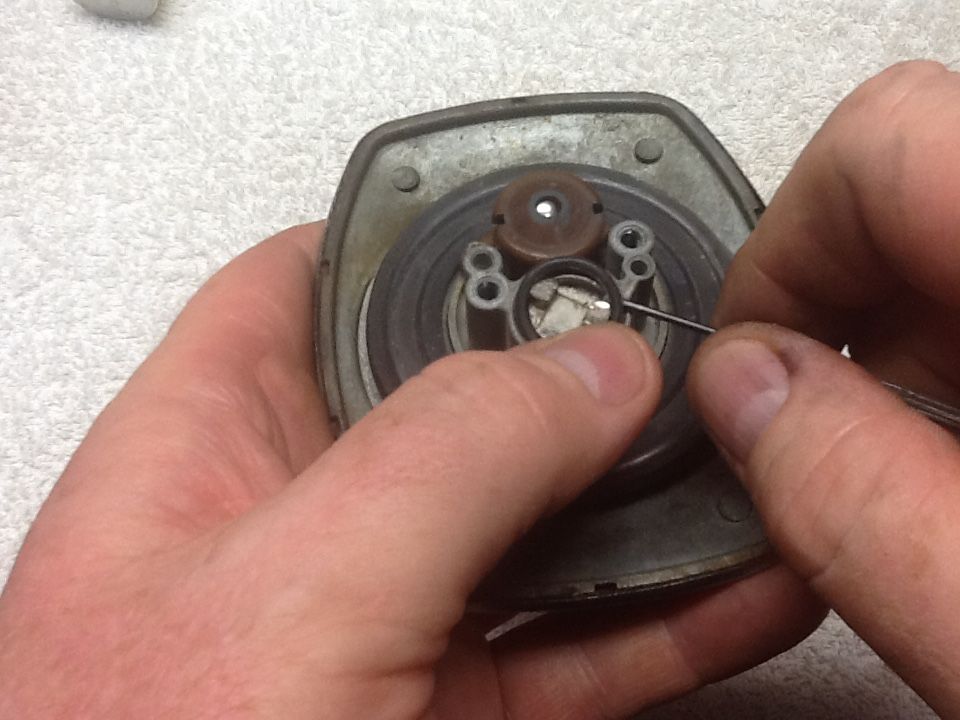
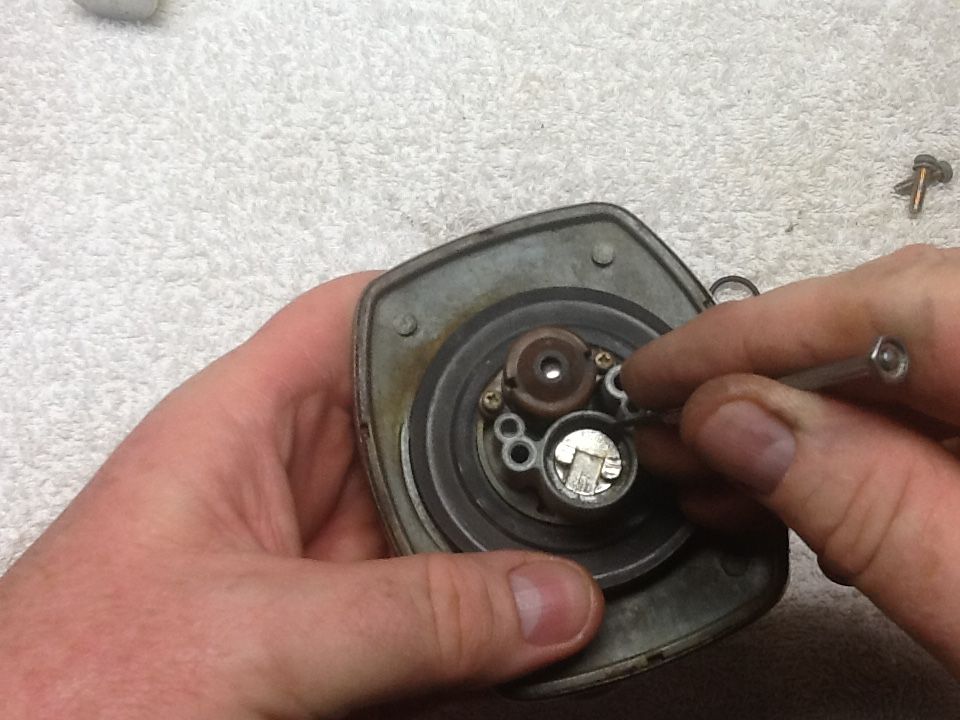
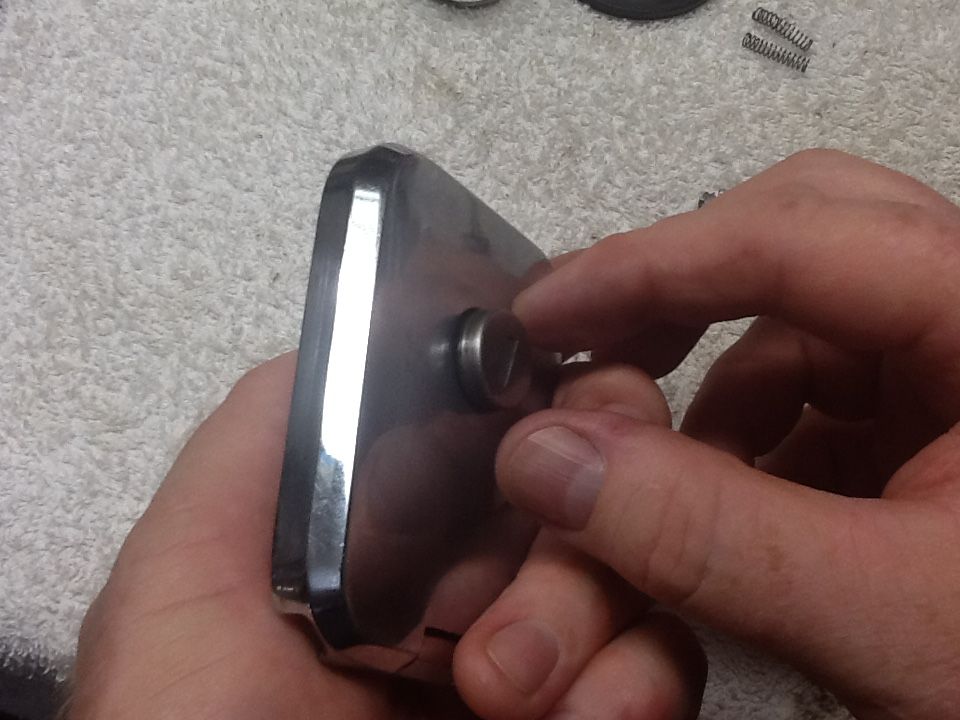
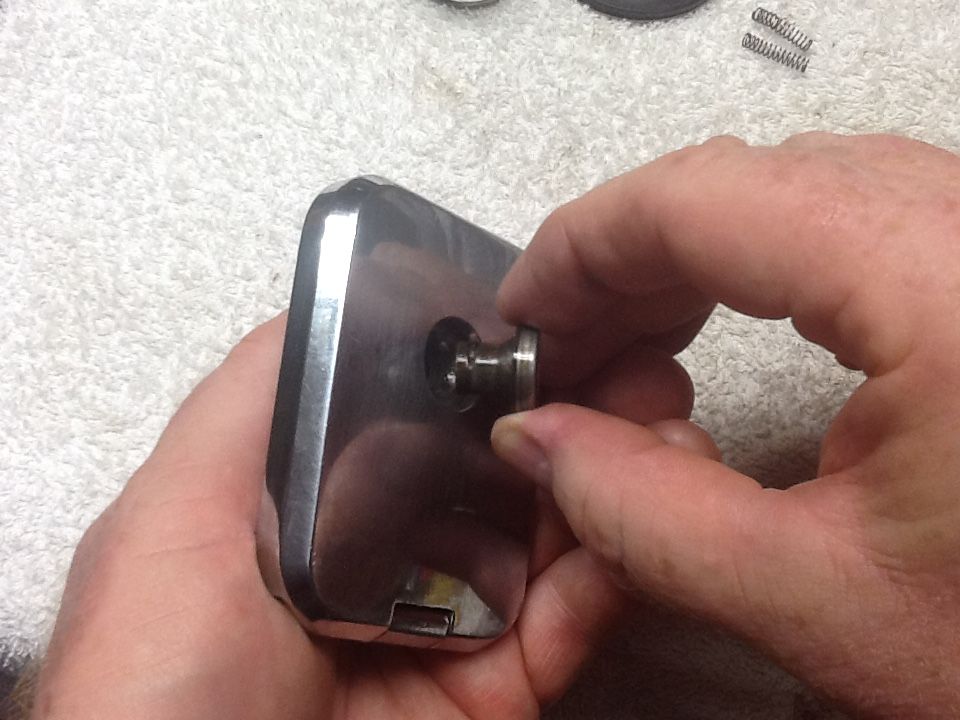
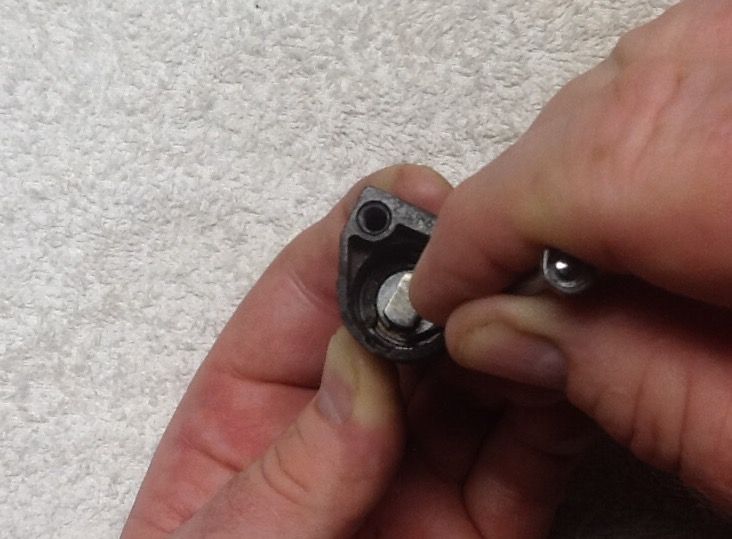
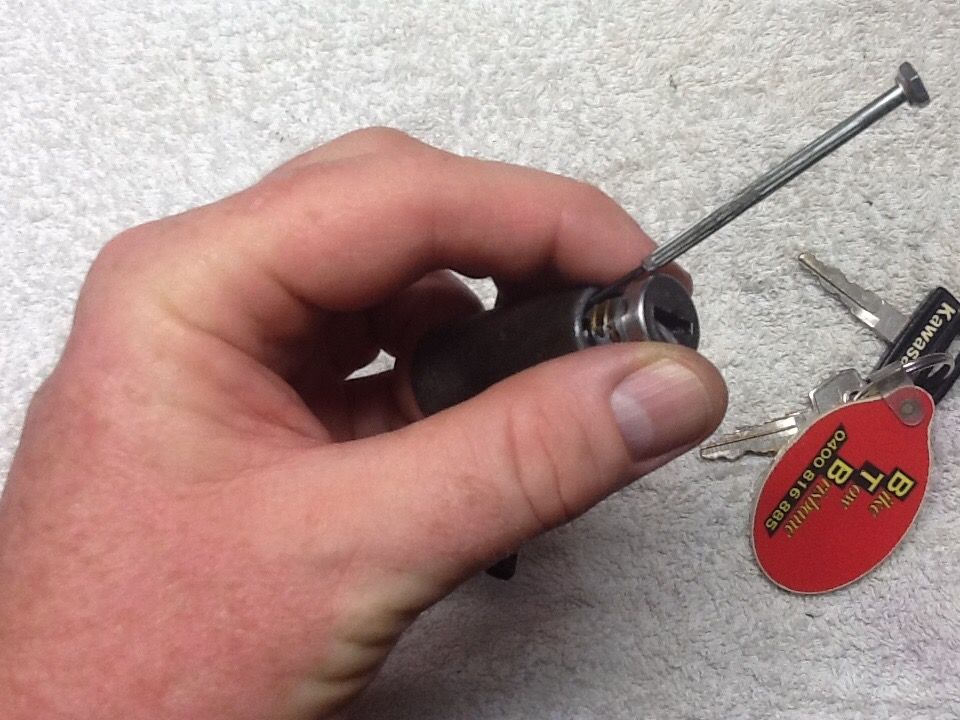
I’m back with my trusty mini screwdriver:
![Image]()
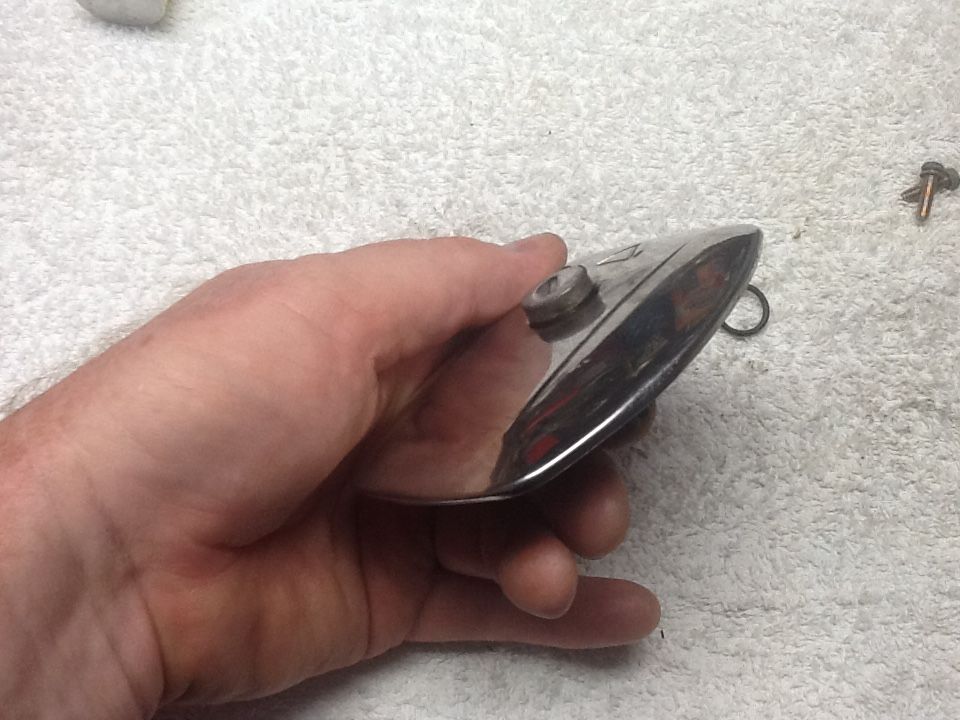
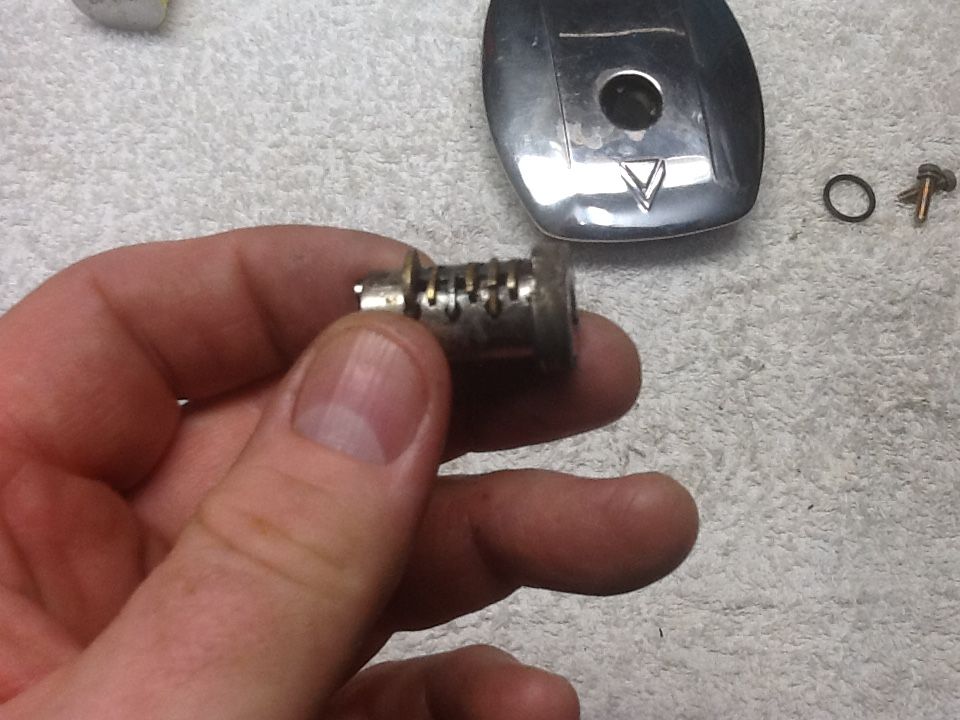
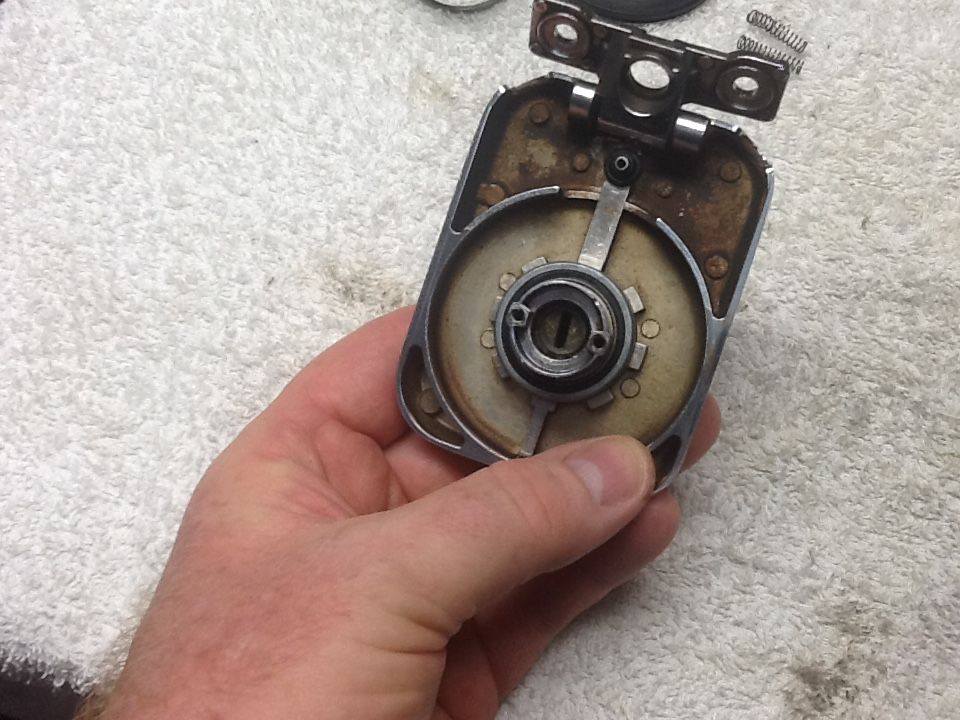
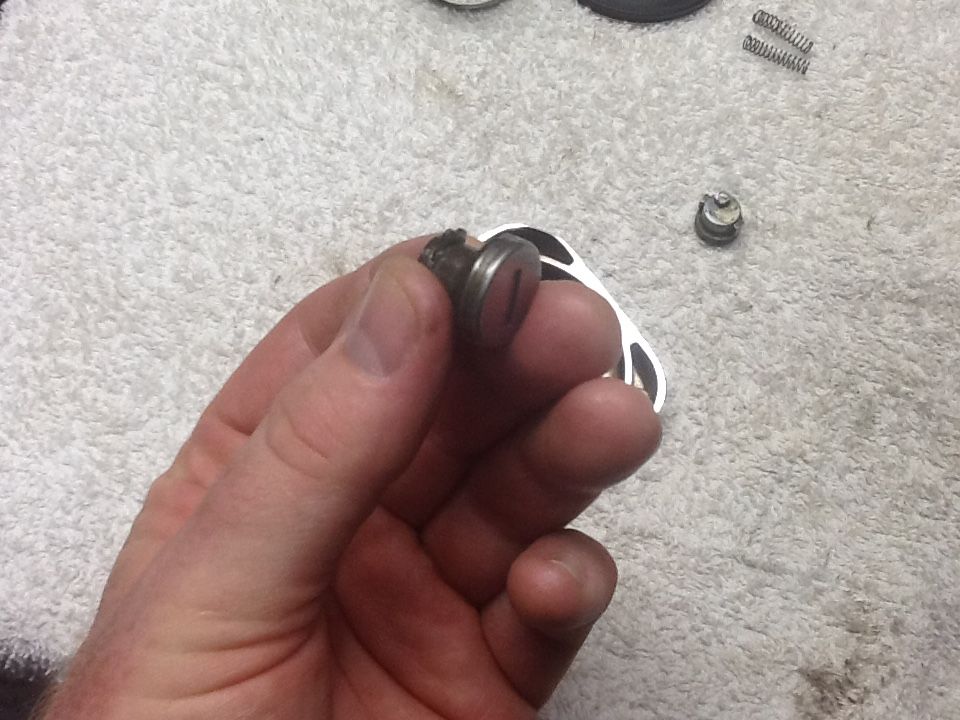
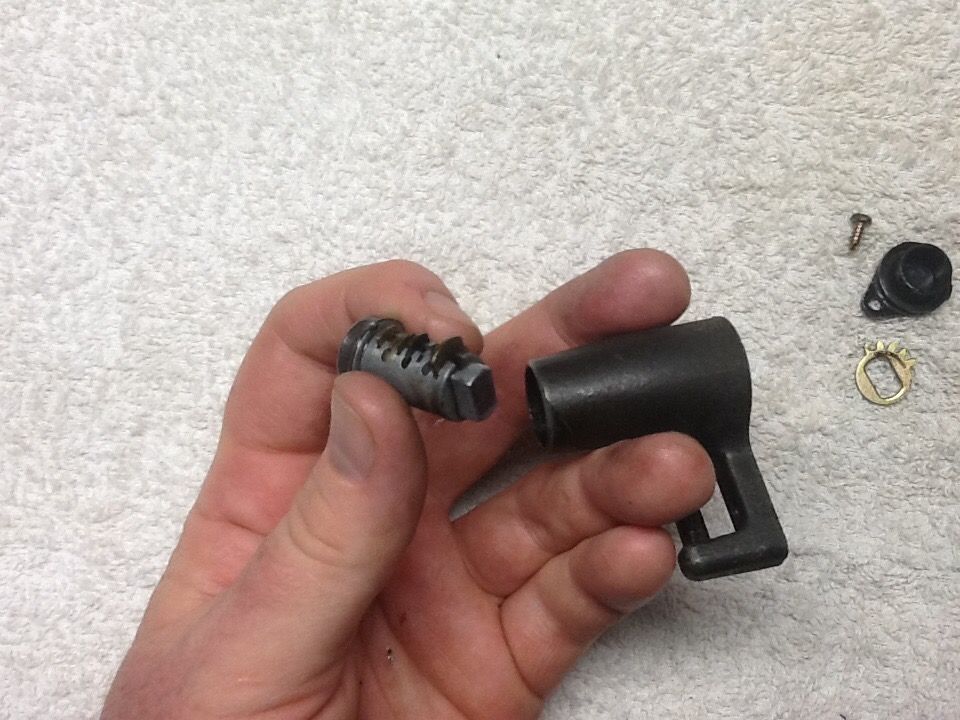
And out comes the barrel:
![Image]()
![Image]()
![Image]()
![Image]()
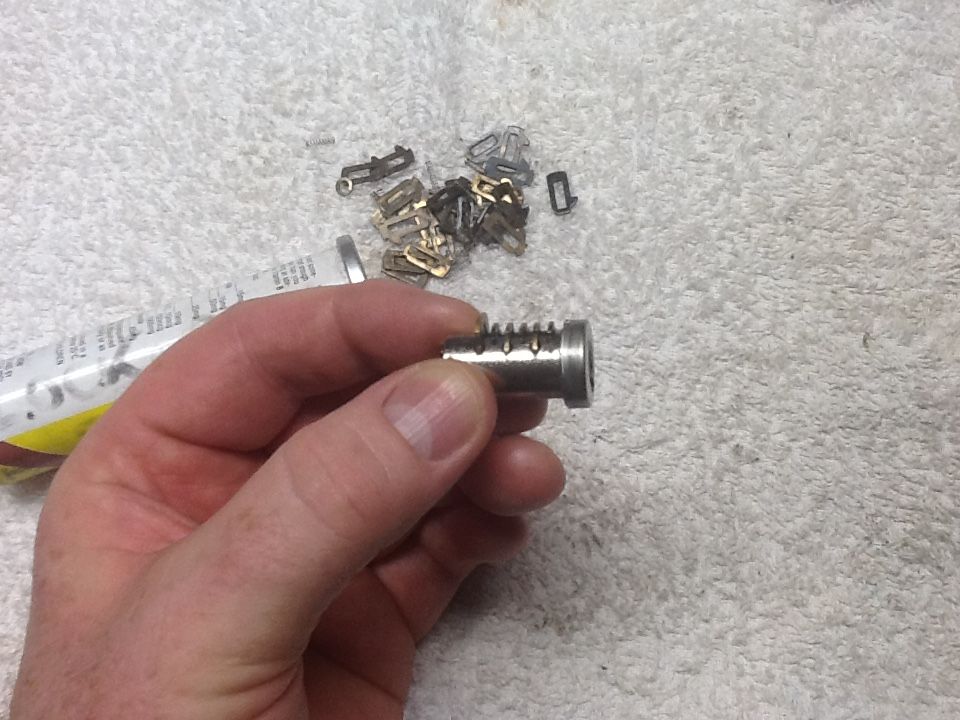
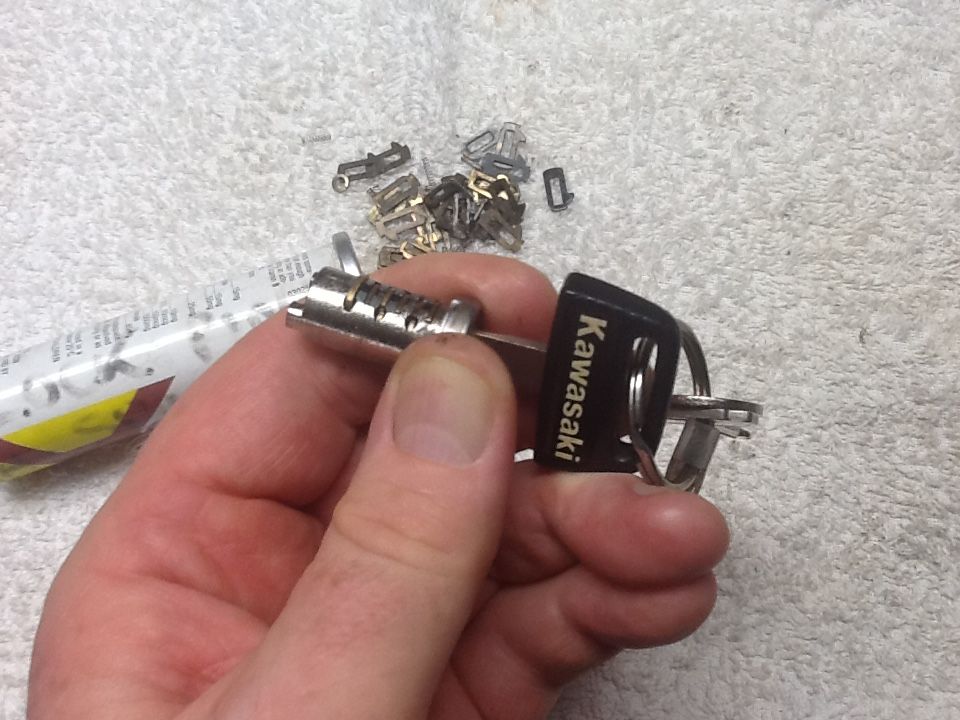
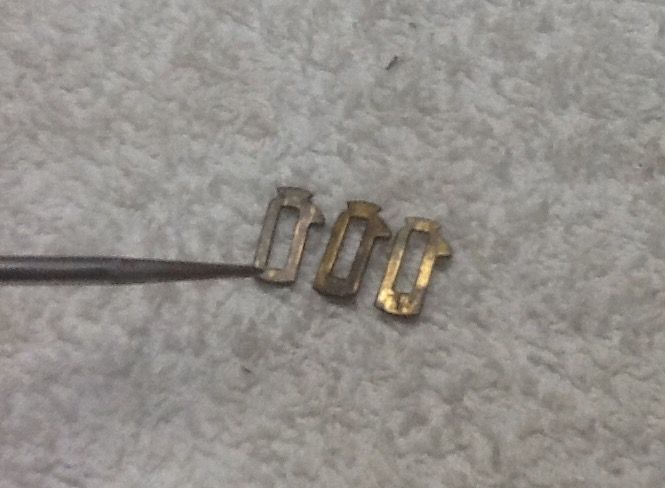
So these locks are called “wafer” locks because the pins are small and flat….like wafers! If you look close, you will see the difference between them is the depth of the pin at the bottom of the wafer (where the pick is pointing). There are 3 different pins here::
![Image]()
Anyway, before we go pulling all the pins out, let’s put the new key in the lock and see if we got lucky with some of the pins:
![Image]()
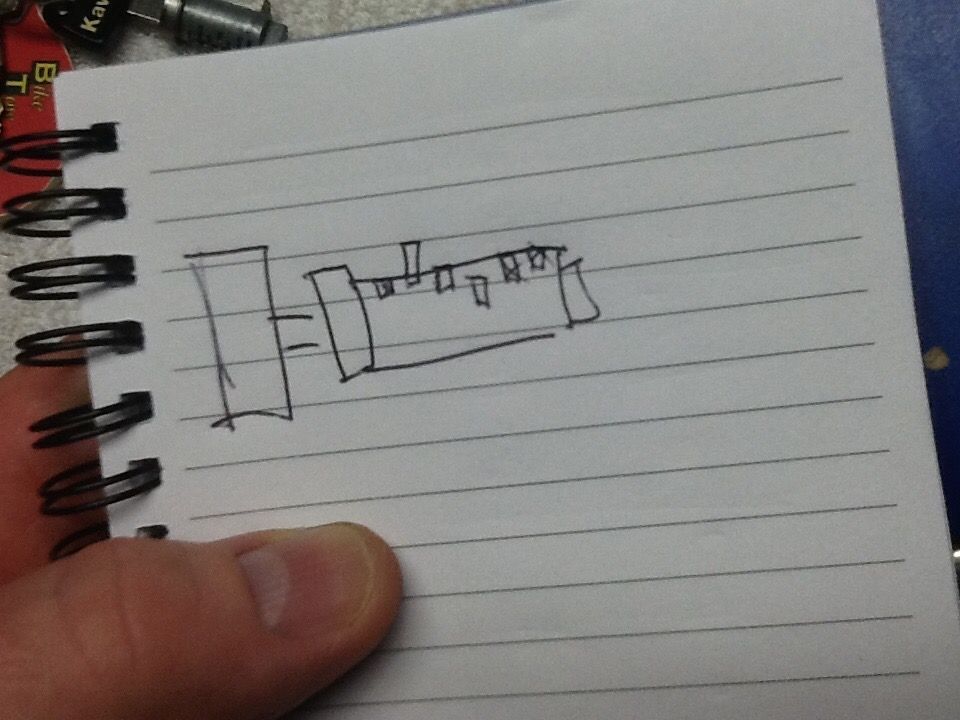
And if you squint real good, you’ll see that there are 2 pins that are “wrong”, so out comes the notepad to draw the diagram….
![Image]()
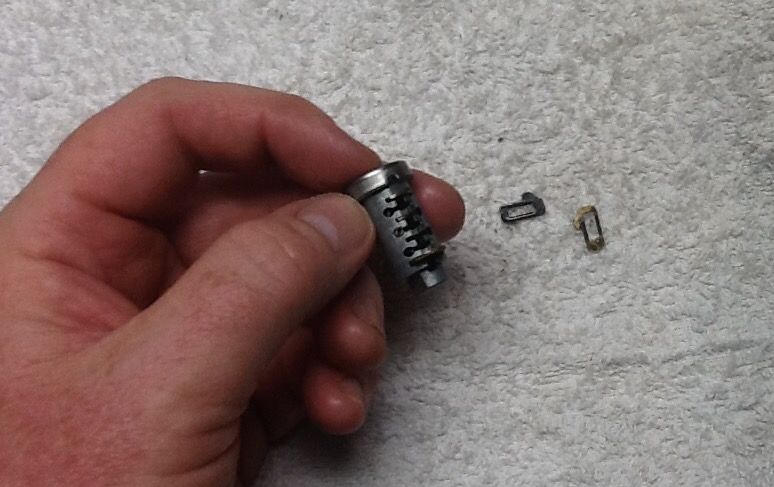
You’ll probably also notice that this lock has 6 pin slots but only 4 wafers. Some of the less important locks are like this standard. Some bikes have “accessory” keys which don’t work on the ignition, and this is how they do that (by just having a key that is cut for 4 wafers instead of 6 or 7). In this case, I honestly can’t remember if it had more or I just took some out. Anyway, here’s the offending wafers removed:
![Image]()
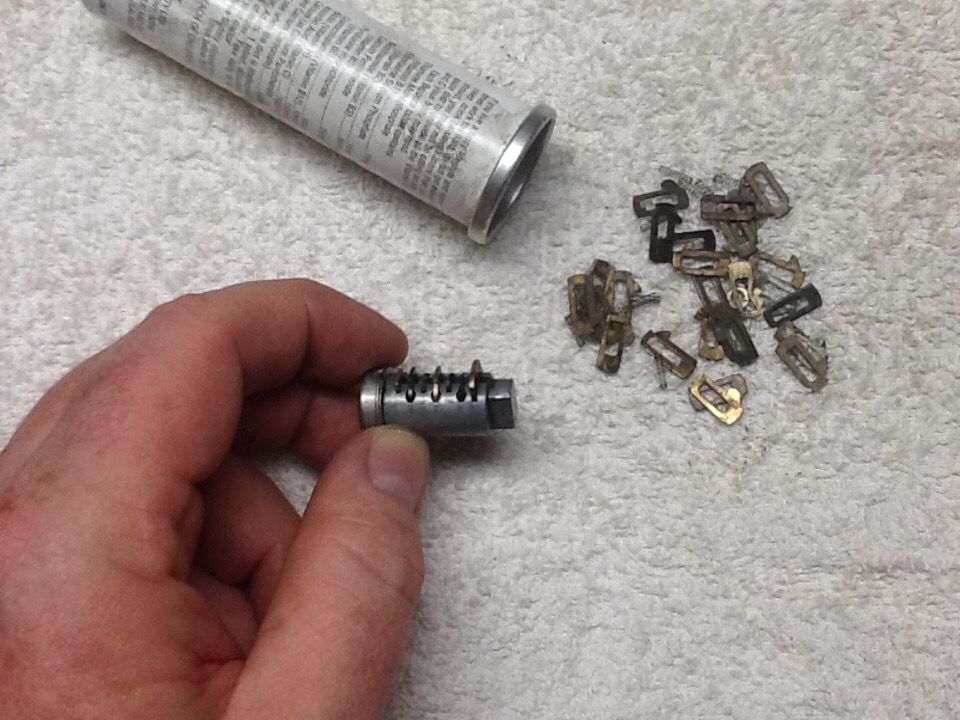
Probably also a good time to tell you I have a few extra wafers from doing this a time or two:
![Image]()
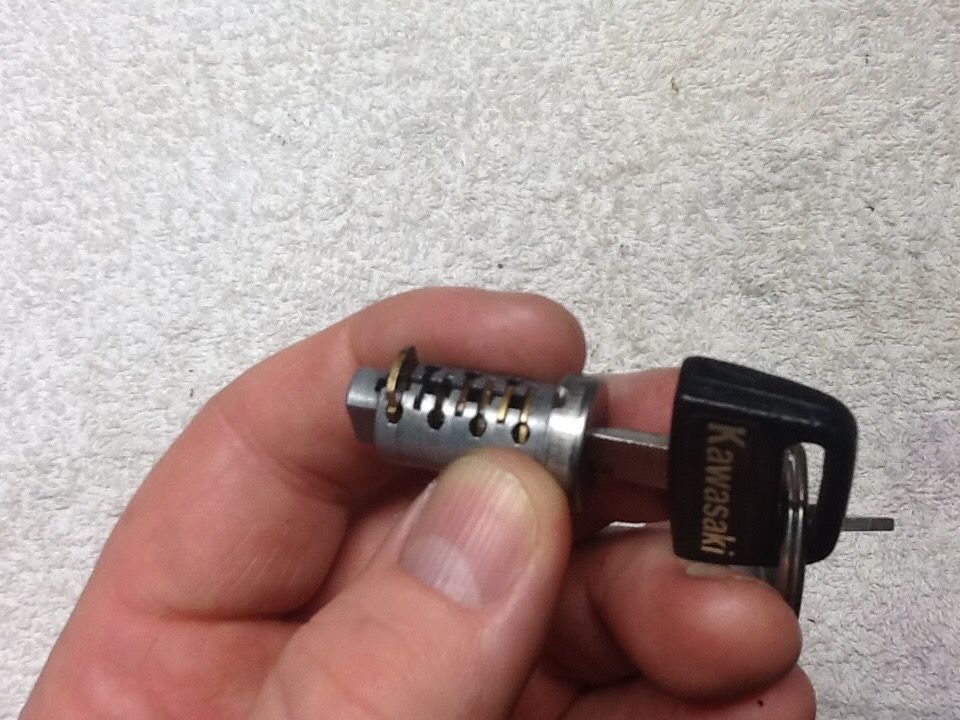
OK – so with a bit of mixing and matching of wafers we end up with a set that works for this key. If you can’t mix and match, you can either leave a few out or grind down the wafers to suit (it’s a helmet lock after all, so for me it will hardly be used).
![Image]()
Re-assemble….
![Image]()
![Image]()
![Image]()
![Image]()
That one is done:
![Image]()
I’ll do the tank lock in the next post…..
Apologies in advance for the sometimes fuzzy pics – my digital camera is fubar’d and I’ve been forced to take photos with a 1st gen iPad potato.
OK – so the Z1300 I inherited from my brother had 3 different keys to work the ignition, tank, seat and helmet locks:

If you look closely you’ll see the 2 keys on the left have the same code, but are quite different in shape from 34 years of use. The key on the far right (on the key fob) was relatively new as he’d replaced the ignition switch a few years back….so, this is the key I’m keeping / using.

At this stage I’ll point out that I’ve actually DONE the keying already, but I’m going to disassemble the fuel cap and a helmet lock to show you what I did:
Starting with the helmet lock – this one is pretty easy as the slide lock mechanism is held in by a plastic cover that is simply screwed in place:
This one has a gear that will just slide off the barrel:
Now look into the back of the lock – you will see there is a pin / wafer that you slide up to release the barrel:
I’m back with my trusty mini screwdriver:
And out comes the barrel:
So these locks are called “wafer” locks because the pins are small and flat….like wafers! If you look close, you will see the difference between them is the depth of the pin at the bottom of the wafer (where the pick is pointing). There are 3 different pins here::
Anyway, before we go pulling all the pins out, let’s put the new key in the lock and see if we got lucky with some of the pins:

And if you squint real good, you’ll see that there are 2 pins that are “wrong”, so out comes the notepad to draw the diagram….
You’ll probably also notice that this lock has 6 pin slots but only 4 wafers. Some of the less important locks are like this standard. Some bikes have “accessory” keys which don’t work on the ignition, and this is how they do that (by just having a key that is cut for 4 wafers instead of 6 or 7). In this case, I honestly can’t remember if it had more or I just took some out. Anyway, here’s the offending wafers removed:
Probably also a good time to tell you I have a few extra wafers from doing this a time or two:
OK – so with a bit of mixing and matching of wafers we end up with a set that works for this key. If you can’t mix and match, you can either leave a few out or grind down the wafers to suit (it’s a helmet lock after all, so for me it will hardly be used).
Re-assemble….
That one is done:
I’ll do the tank lock in the next post…..